Arcadia Wood Flooring handles screen and recoat hardwood floors in Arcadia, CA, and after 20+ years on wood floors we recommend it more often than people expect. When a floor looks tired but the finish still covers the wood, abrading and recoating restores sheen and protection without sanding away wood that a full refinish would take.
The work is lighter, but the decision is not casual. A recoat only bonds to a clean, compatible surface, so we test adhesion in a hidden spot before committing. On engineered floors, we measure the wear layer, because a thin veneer can take a screen and recoat but not a sanding, which often makes recoating the right long-term plan.
Every finish we apply meets the South Coast air district limit of 275 grams per liter for wood coatings, and every job comes with a written room-by-room schedule showing when furniture and rugs can come back.
When A Screen And Recoat Is The Right Choice
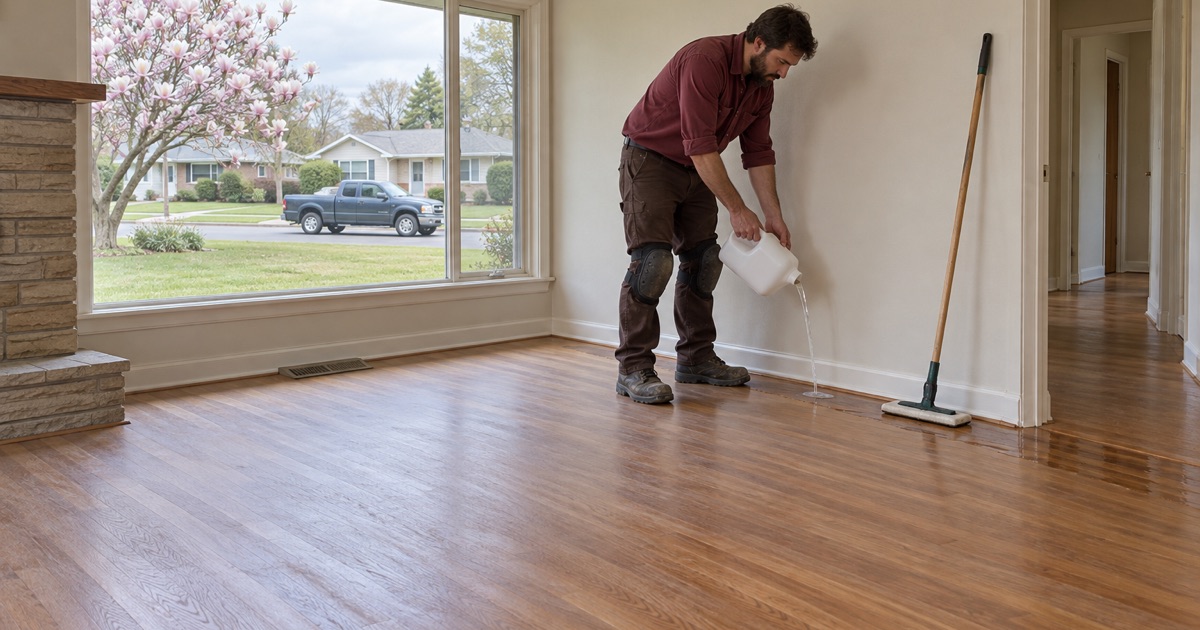
Dull, Lightly Scratched Finish
Floors in good condition often lose sheen in traffic lanes and pick up fine scratches from shoes, pets and chairs. If those marks stay in the finish and have not reached bare wood, a screen and recoat can refresh the surface.
Buff and coat, another name for the same process, lightly abrades the old top coat so new finish can bond. The result is a more even sheen and a new layer of protection over the existing color.
Floors That Cannot Afford Another Sanding
Older solid hardwood floors that have been sanded several times may have little wood left above the tongue. Engineered floors with a thin wear layer cannot be sanded without risking sand-through.
For both, a screen and recoat preserves remaining wood while improving protection. Recoating early is one of the best ways to extend a floor’s life.
The same logic applies to parquet with thin blocks and to floors with decorative borders or inlays, where every sanding removes detail that cannot be replaced. A well-timed recoat protects the pattern and leaves the wood untouched for another cycle.
Rentals And Quick Turnovers
Between tenants, floors often show normal wear and tear rather than serious damage. A screen and recoat can improve appearance and protection in less time than a full sanding.
We document the floor’s condition with photos and recommend whether recoating, board repair or full refinishing fits the turnover window. That record can also help when separating normal wear from damage.
When A Recoat Will Not Work
Bare Wood, Gray Boards And Deep Stains
Once traffic lanes have worn through to bare wood, gray boards appear, or stains reach into the wood, a screen and recoat cannot fix the problem. New finish over exposed wood usually looks uneven and does not protect well.
Those floors need board repair, spot work or full sanding. We explain which areas are beyond a recoat before any work begins.
Color Changes
A screen and recoat keeps the existing stain and color because it does not remove the old finish down to wood. If you want a lighter, darker or more neutral floor, full sanding is required.
On engineered floors with thin wear layers, color changes may not be possible without replacement. We confirm wear layer thickness before discussing options.
Wax, Oil Soap And Cleaner Residue
Wax, oil soaps, polishes and some spray cleaners leave residue that interferes with new finish adhesion. A recoat over contamination can peel, flake or look cloudy.
We ask about past cleaning products and test adhesion in a low-visibility area. Waxed floors usually need full sanding rather than recoating.
A simple test tells a lot. A small area is cleaned and abraded, a coat of finish is applied, and once cured the patch is scored and checked with tape to see whether the new layer lifts. A patch that holds gives good reason to proceed with the whole floor.
How The Screen And Recoat Is Done
Deep Cleaning And Preparation
The floor is cleaned thoroughly before abrasion to remove dirt, grease and residue. Edges, corners and areas under removed furniture receive attention because contamination there often causes finish problems later.
Dust containment is set up around the work area. Although a recoat creates less dust than full sanding, abrasion still produces fine particles.
Abrading The Existing Finish
The existing finish is abraded with a buffer or screen and hand tools along edges. The goal is a uniform dull surface that new finish can grip, without cutting into the wood.
After abrasion, the floor is vacuumed and tack-cleaned. Remaining dust can show as specks in the new coat, so cleanup is done carefully.
Abrasion also reveals problems that were hard to see before. Spots where the screen quickly reaches bare wood show thin finish, and those areas may need spot sealing so the final coat looks even across the room.
Applying The New Finish
A compatible finish is applied evenly, usually waterborne polyurethane or another product suited to the existing coating. Sheen level can be adjusted, often to satin or matte for everyday living.
The finish is allowed to cure according to product requirements and room conditions. Your written schedule shows when to walk on the floor, when furniture returns and when rugs can be placed again.
Keeping A Recoated Floor Protected
Care After The Recoat
Felt pads under furniture legs, mats at exterior doors and a slightly damp microfiber mop help keep a recoated floor looking good longer. Wax, oil soaps and steam mops should be avoided because they can damage the finish or block future recoats.
Watching traffic lanes and recoating before bare wood appears keeps sanding off the schedule for longer. We can recommend a maintenance interval based on how the floor wears in your home.
- 20+ Years on Wood Floors
- Room-by-Room Schedules
- Stairs Priced by the Step